


HANDCRAFTED TITANIUM BICYCLES MADE IN HAILEY, ID
MY MATERIALS & RIDE CHARACTERISTICS
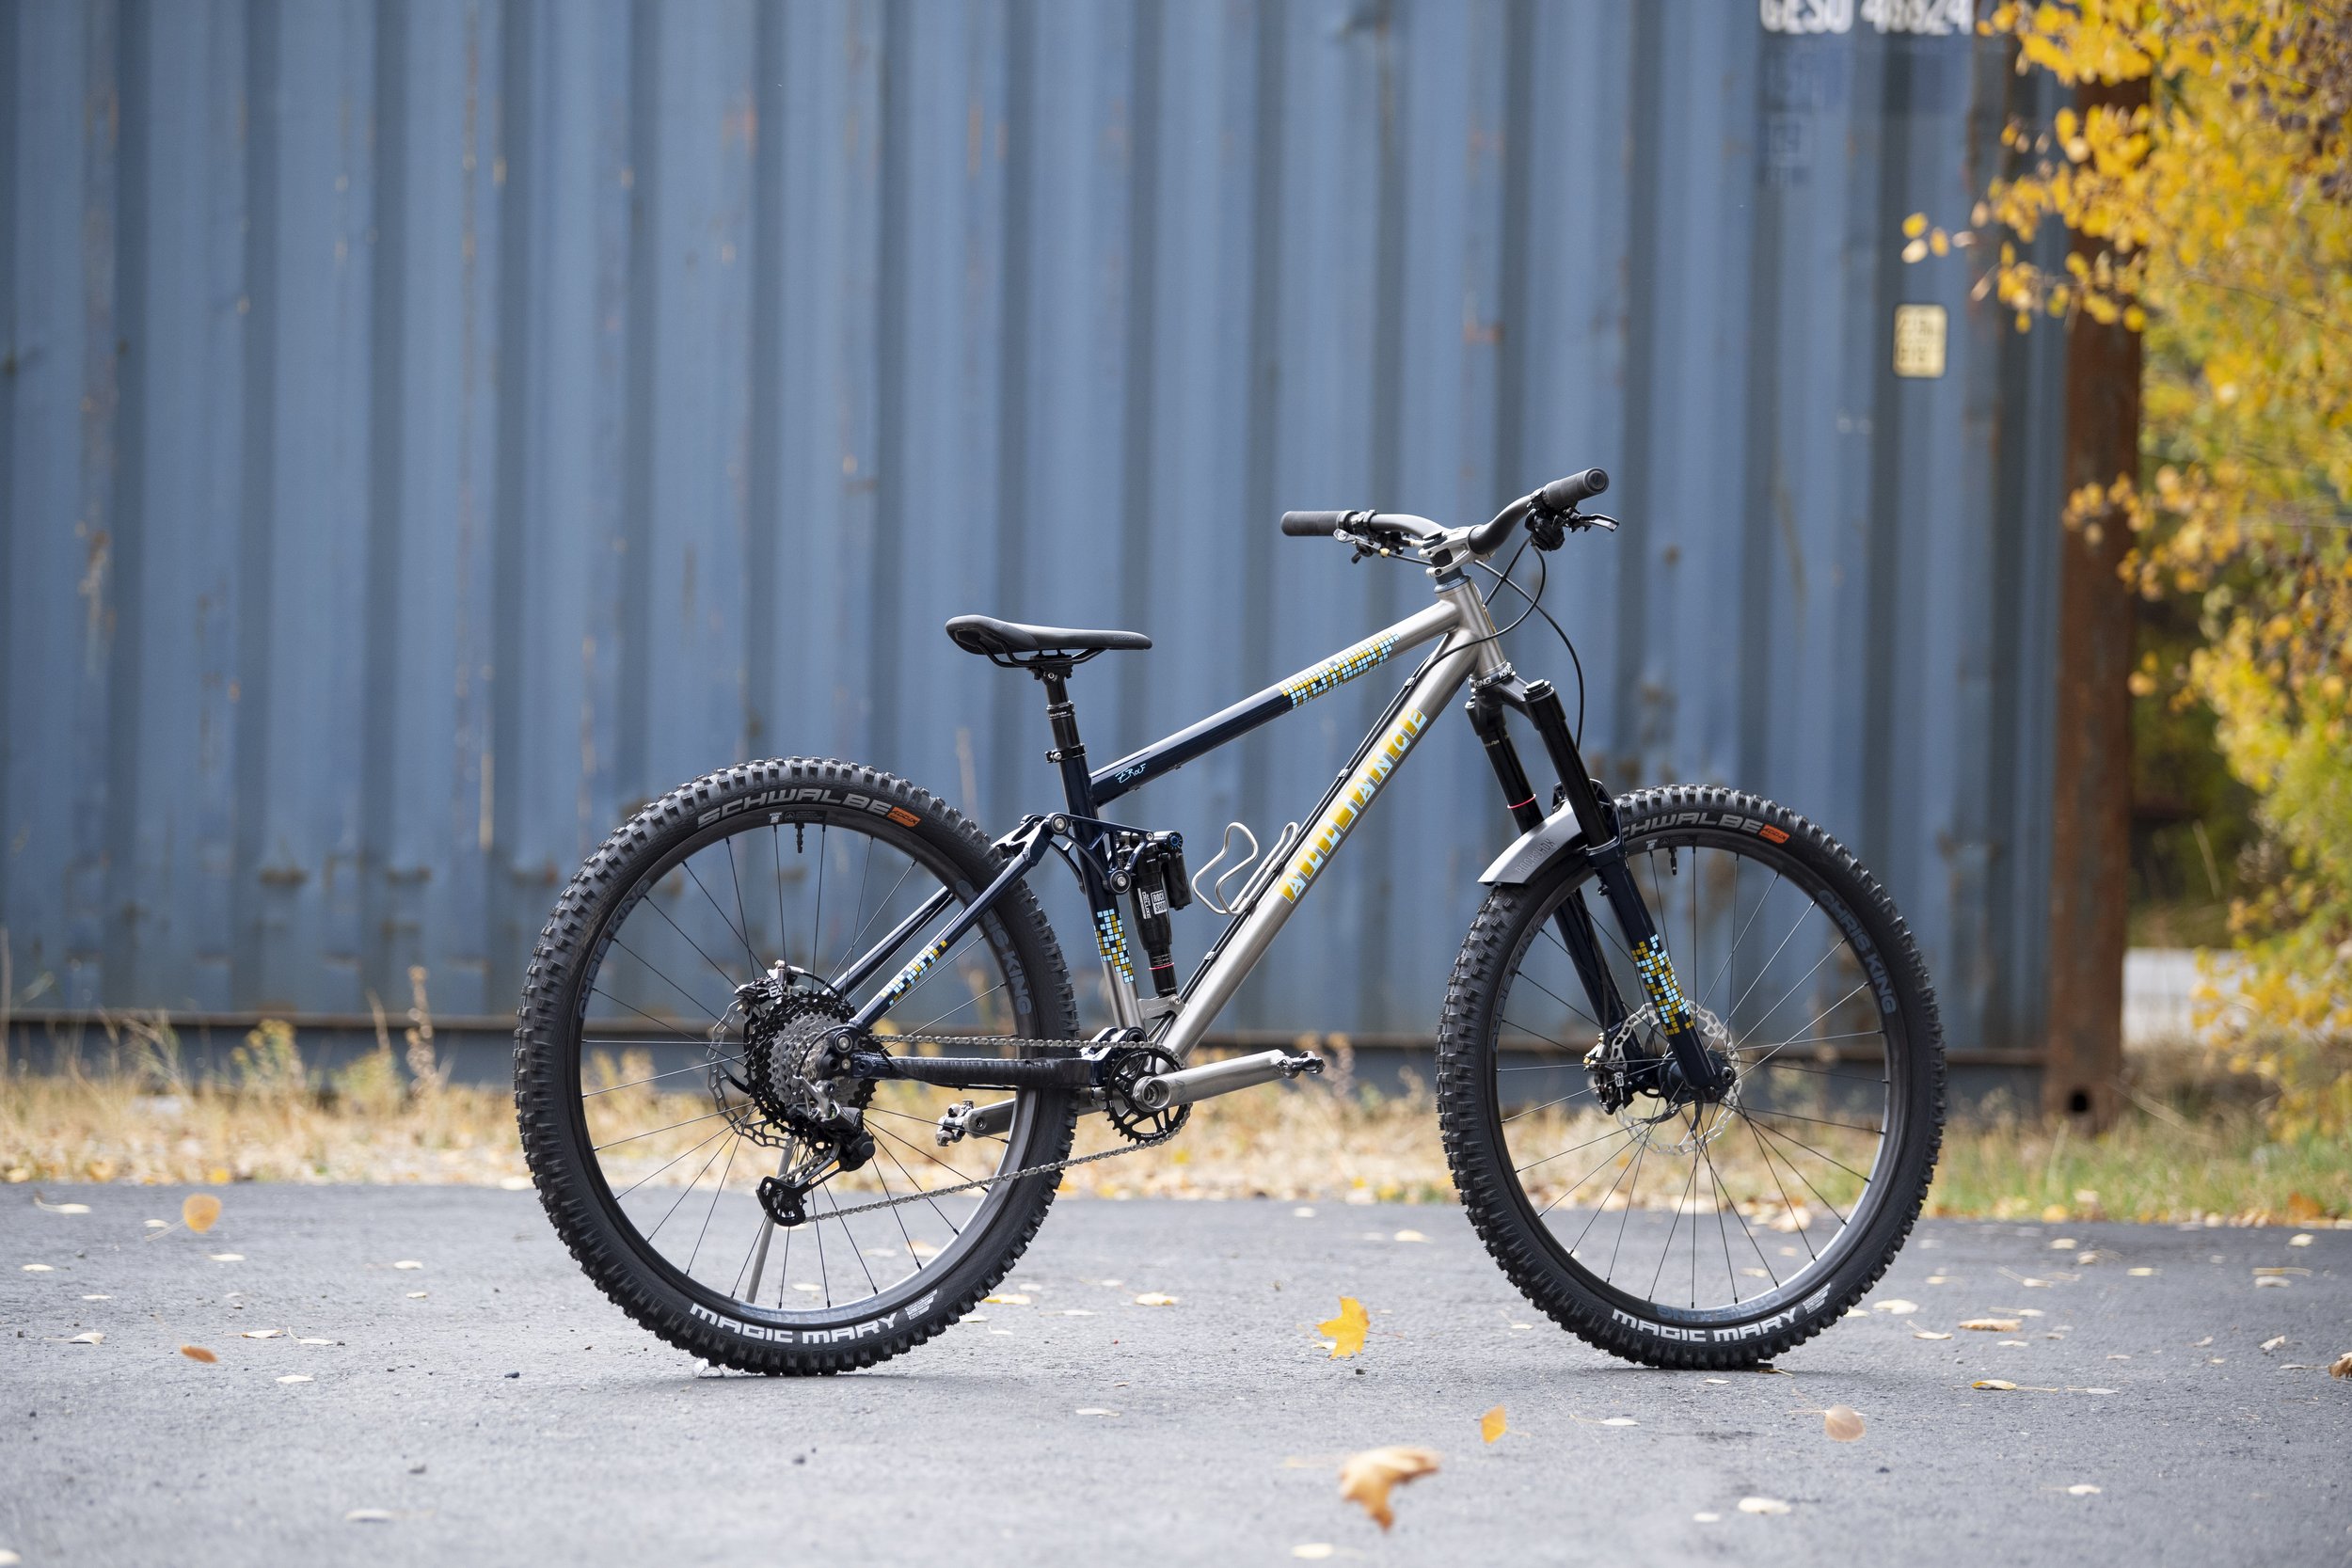
At my workshop, I craft high-quality titanium bikes using carefully selected tubing and frame components. Titanium is my material of choice due to its adaptability to match your specific preferences for fit, geometry, and frame stiffness. Not only is titanium incredibly durable, but it also boasts a relatively lightweight construction, making it ideal for long-term ownership. Each titanium bike I create is customized according to your unique requirements. By selecting various tube diameters and wall thicknesses, I can tailor the bike to be either stiff or compliant, ensuring a perfect match for your weight, riding style, usage, and personal preferences.
For the construction of my titanium bikes, I rely on 3/2.5 cold-worked stress-relieved tubing, which guarantees performance and durability. Additionally, I offer the option of double-butted titanium tubing, utilizing thinner walls to provide a lighter alternative.
GEOMETRY TAILORED TO YOU
When crafting each bike, I prioritize tailoring it to your unique body dimensions and personal preferences. To achieve this, I thoroughly review your body measurements and ask about your past cycling experiences to establish a fitting baseline for your new bike. It's important to recognize that no two individuals share the same preferences for riding positions, even if they have identical body dimensions. That's why it's crucial to begin the process with a clear understanding of your likes and dislikes.
Some cyclists prefer a more upright position, enjoying the scenic views on country roads, while others seek the most aerodynamic posture to keep up with fast-paced club rides. Individual differences in pedaling technique, flexibility, core strength, and experience all play a role in determining the ideal rider-bike positioning.
The geometry of your bike directly influences its handling and responsiveness to your inputs. Although geometry and fit are not interchangeable, it includes the cyclist's positioning and weight distribution between the front and rear axles. I have my own perspective on bicycle geometry, and during our discussions, I'll guide you through the trade-offs with each numerical decision. However, it's important to consider how these measurements will interact with each other, rather than focusing solely on individual frame dimensions.
COMPONENT SELECTION
If you're interested, I can also help you order a fully assembled bike, ensuring you receive a professionally finished product. Each part will be installed correctly, and compatibility will be checked. The derailleurs and brakes will be properly adjusted, and all cables will be pre-stretched. When your new bike arrives, it will be securely packed and require only a few simple allen wrenches for reassembly.
For the best price on a complete bike, I recommend choosing from the preselected build kits. However, I'm flexible and open to substitutions, such as wheel upgrades, or accommodating any specific parts you desire, down to the water bottle bolts. I have access to a wide range of components and can assist you with selecting the right ones.
In case you decide not to go for a complete bicycle, I can design the frame according to the parts you plan to use. This information helps in constructing the frame accurately for a specific fork length or headset and ensures appropriate chainring or fender clearance. Additionally, I will install all necessary braze-ons for mounting any items of your choice.